Our new Entegra Odyssey 30Z came with a TV up front, but the bedroom had nothing but a blank wall. It was a well-prepared blank wall, though. So this weekend I fixed that.
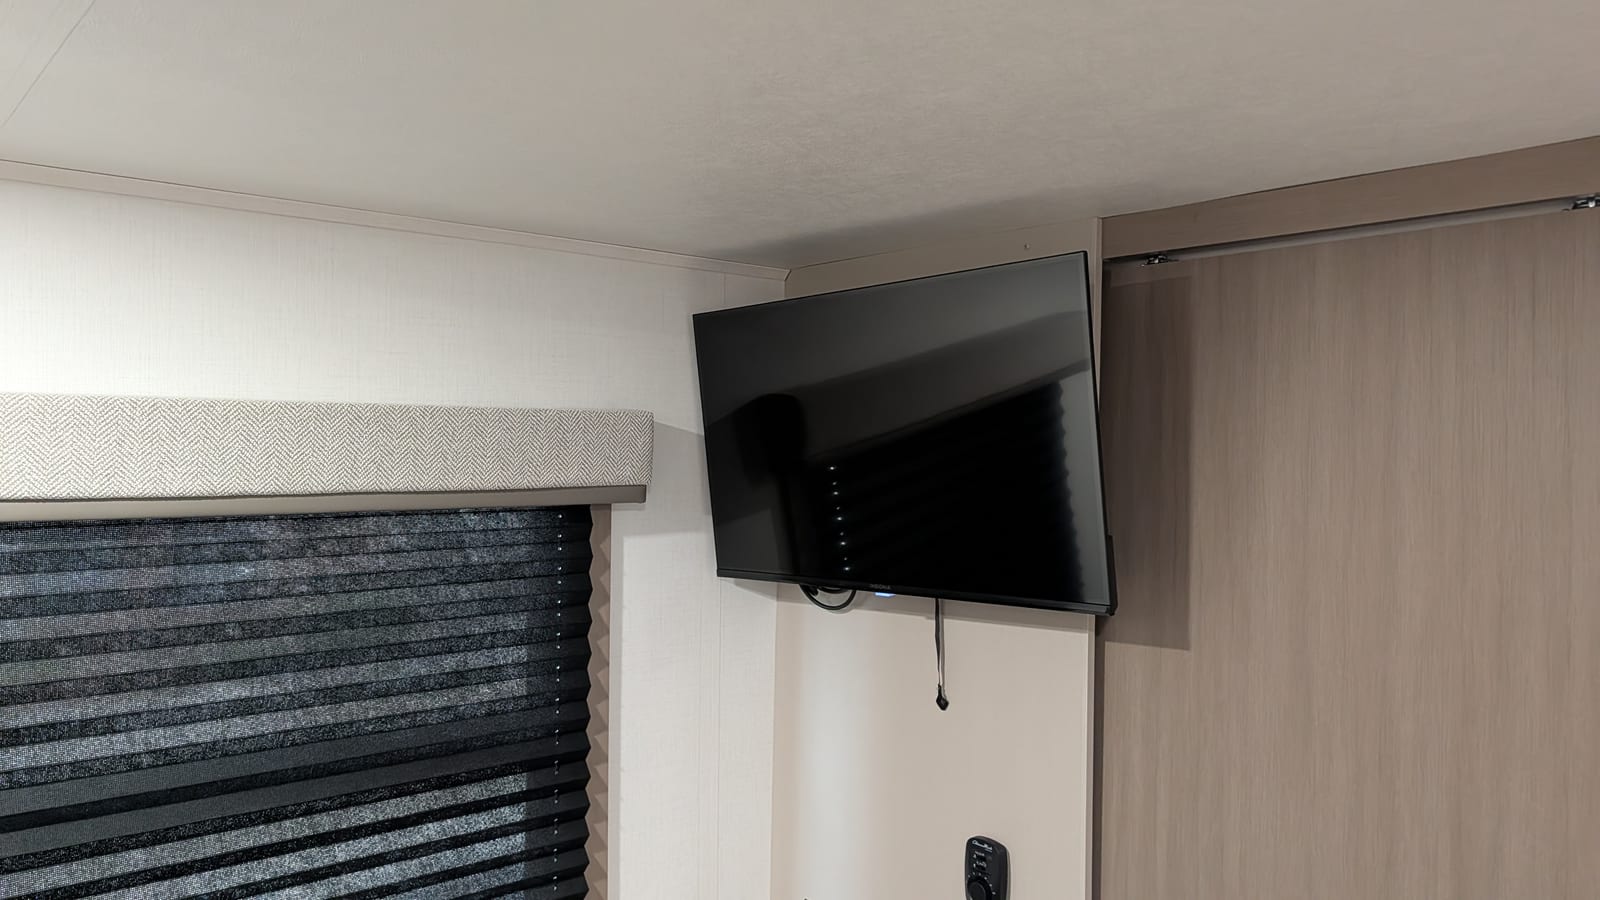
- Rig: Entegra Odyssey 30Z
- Room: Bedroom, corner wall
- Difficulty: Easy
- Mess level: See step 4
- TV: Insignia 32" Class FE Series LED Full HD Smart Fire TV
- Mount: Mounting Dream UL Listed Lockable RV TV Mount
- A drill and a 5/32" drill bit
- A 1/2" socket for the mounting bolts
- A tape measure
- A level
- A pencil
- The coax and power cables
- Something to clean up with afterward (trust me)
Step 1: Find the spot
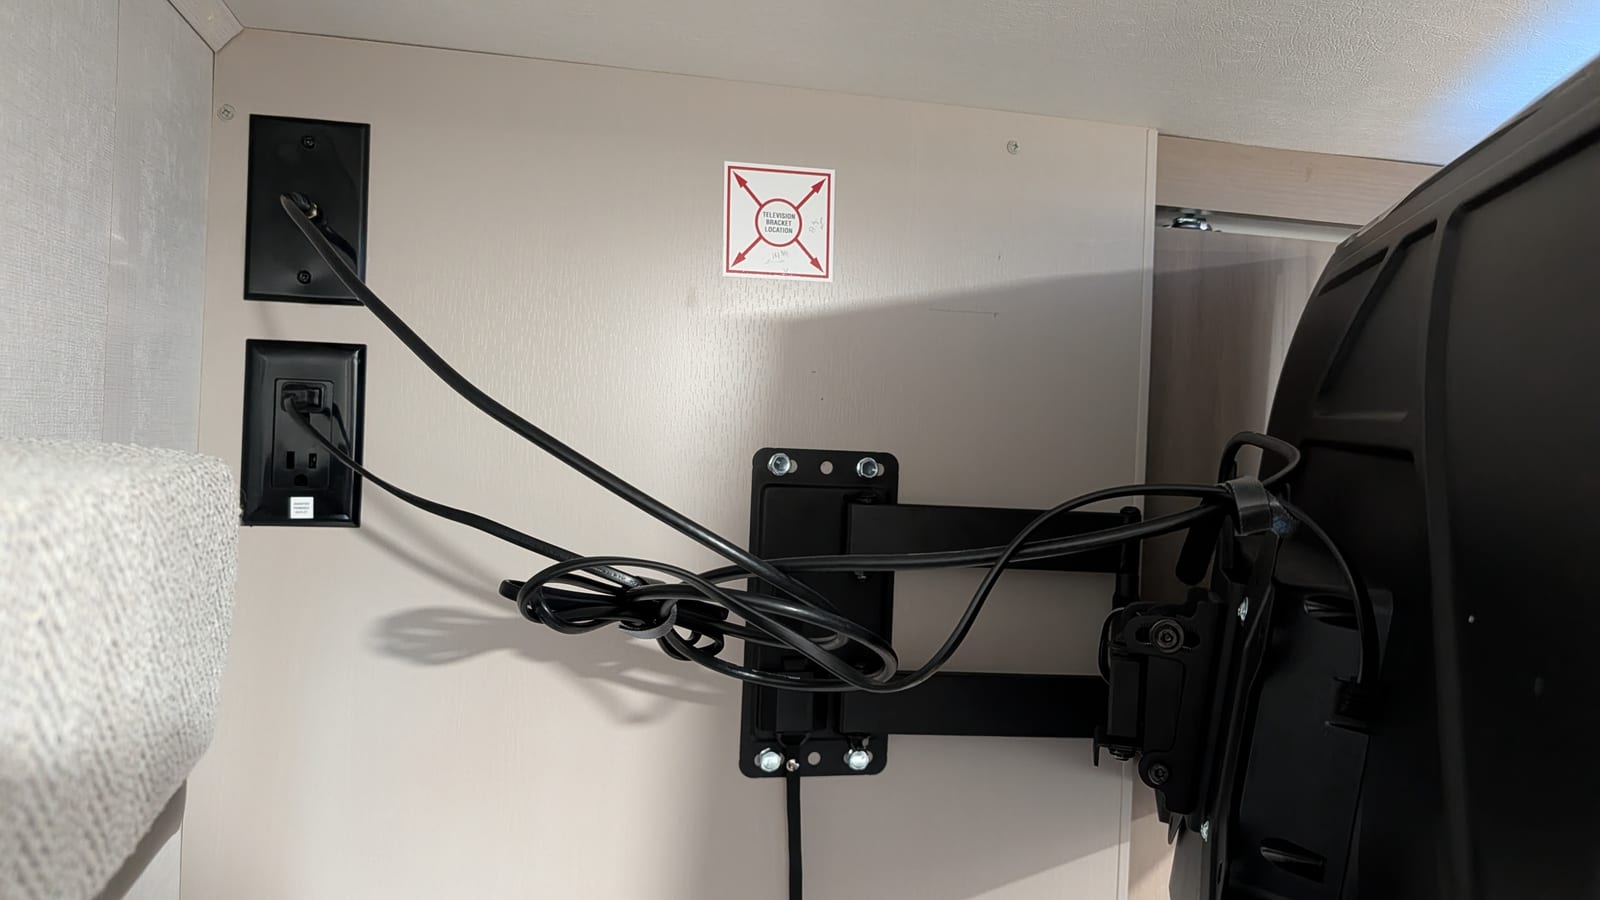
Entegra made this part easy. There’s a sticker on the wall that says Television Bracket Location. That tells you where the backing is behind the wall panel. A coax jack and a power outlet are already installed nearby. The coax jack is wired to the RV’s antenna. The outlet is labeled as inverter powered, so the TV will still work when we’re not plugged in at a campground.
Step 2: Mount the wall plate
The mount’s wall plate attaches with four bolts. I measured out the spot with the tape measure and used the level to get the plate straight. Then I marked the holes with a pencil. I drilled them with the 5/32" bit and drove the bolts in with the 1/2" socket. The plate needs to be solid before any weight goes on it. A TV on an arm puts a lot of leverage on those bolts, and an RV wall gets shaken around on every drive.
Step 3: Hang the TV and run the cables
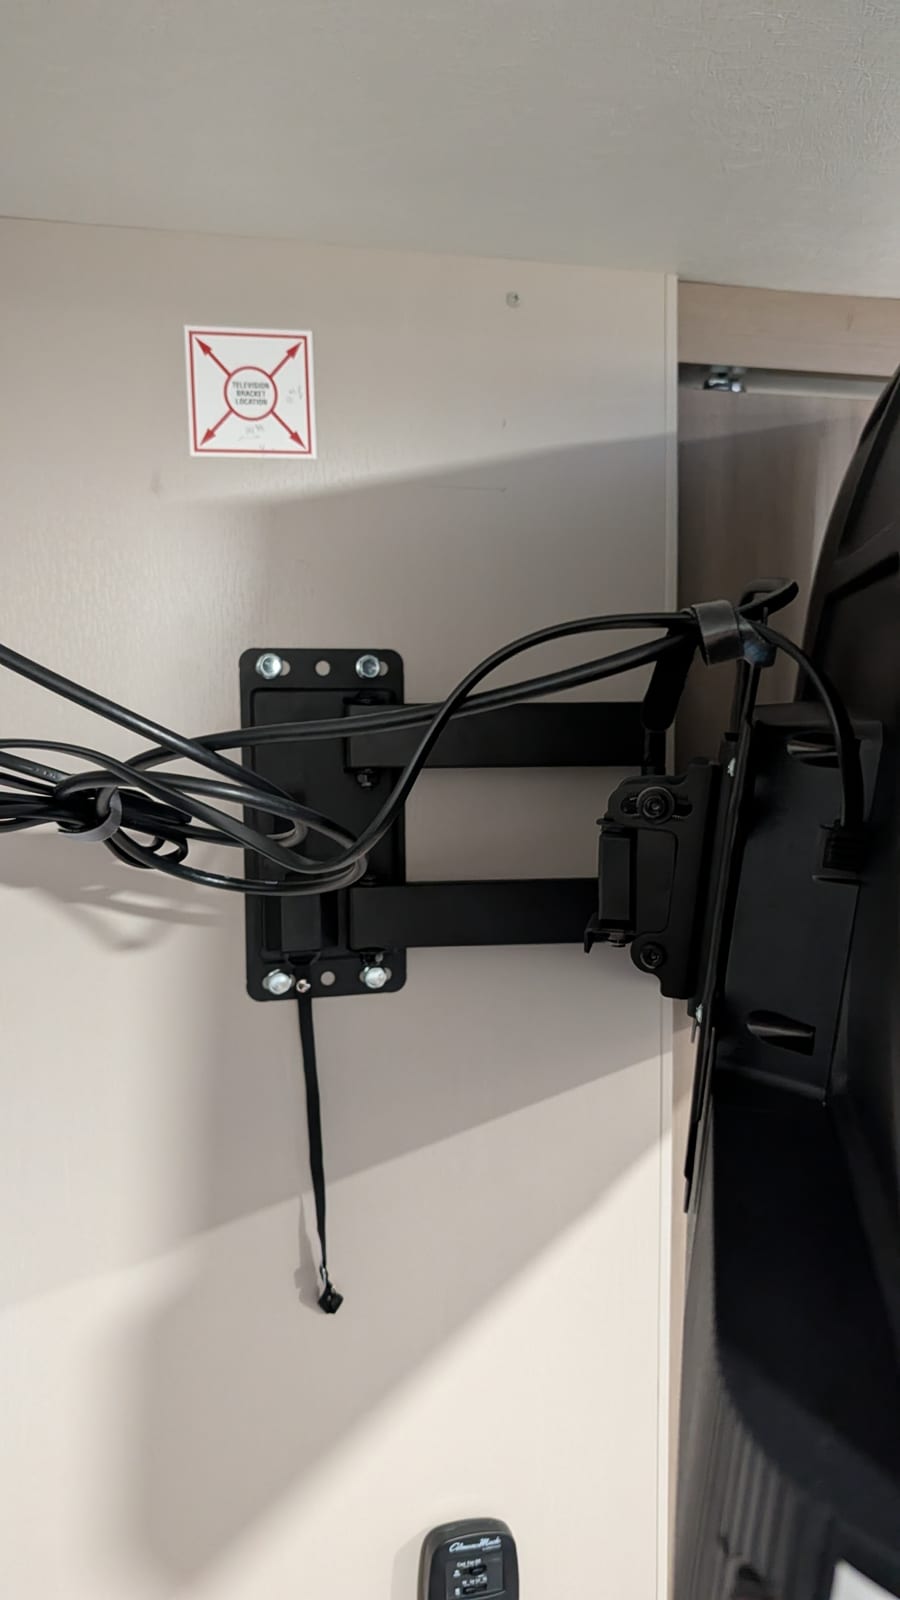
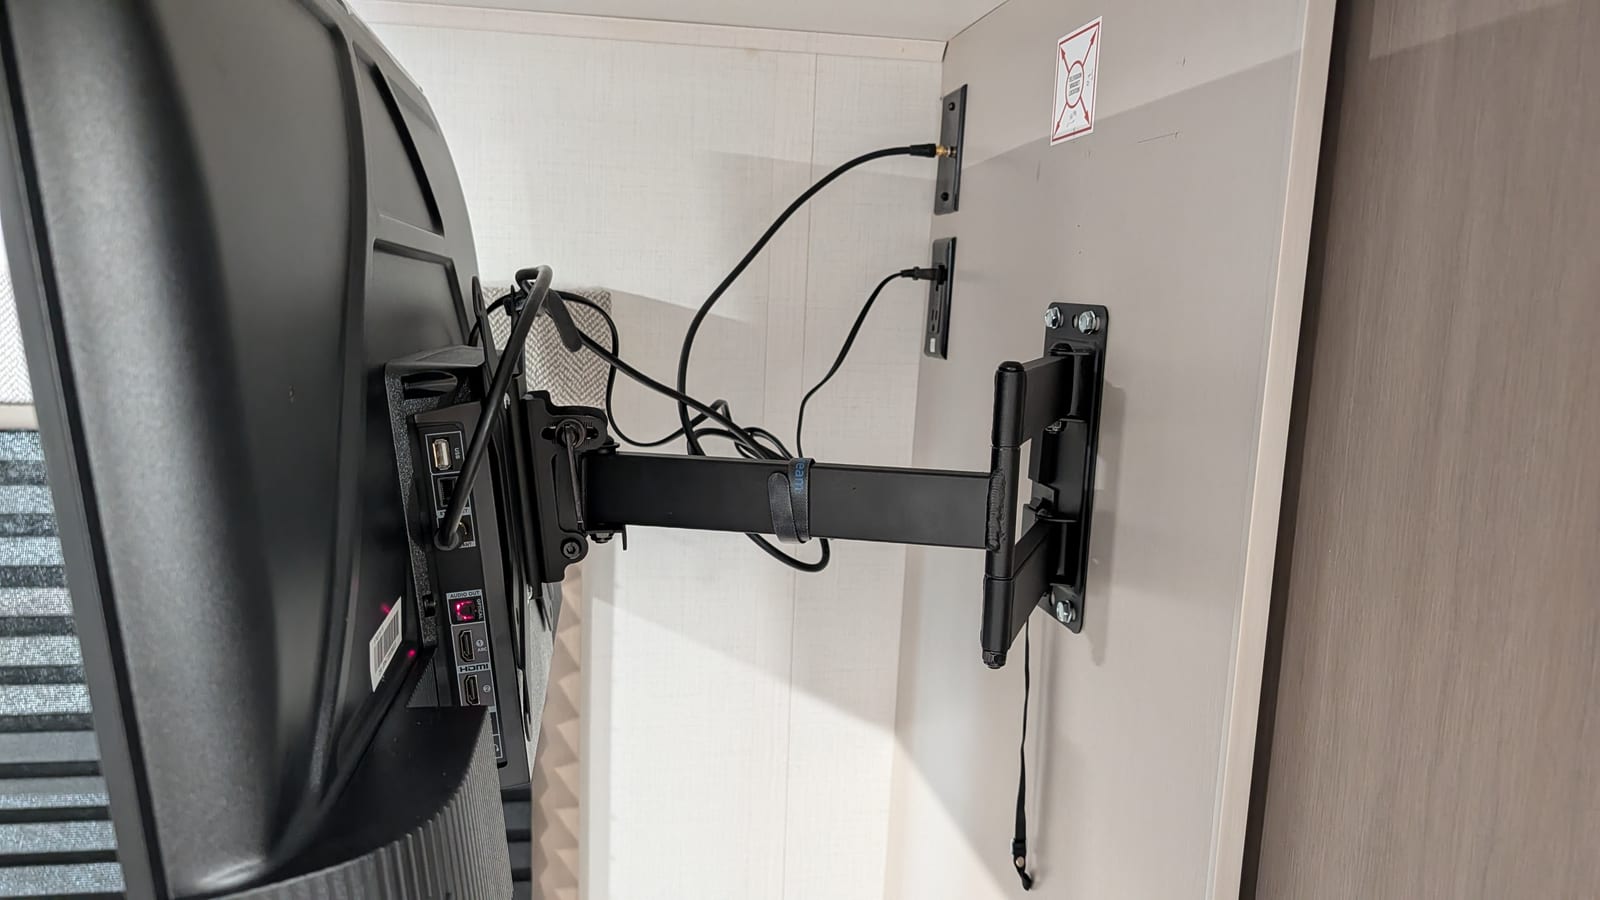
With the plate on the wall, the TV hooks onto the arm. Then I ran the coax and power from the wall jacks to the back of the TV. The mount came with a hook-and-loop strap that holds the cables to the arm. That keeps them from snagging when the arm swings out.
The arm locks in place, which is what makes this an RV mount. A strap hangs down below the mount. Pull it to release the lock, and then you can swing the TV out or push it back. Without the strap pulled, the arm stays put.
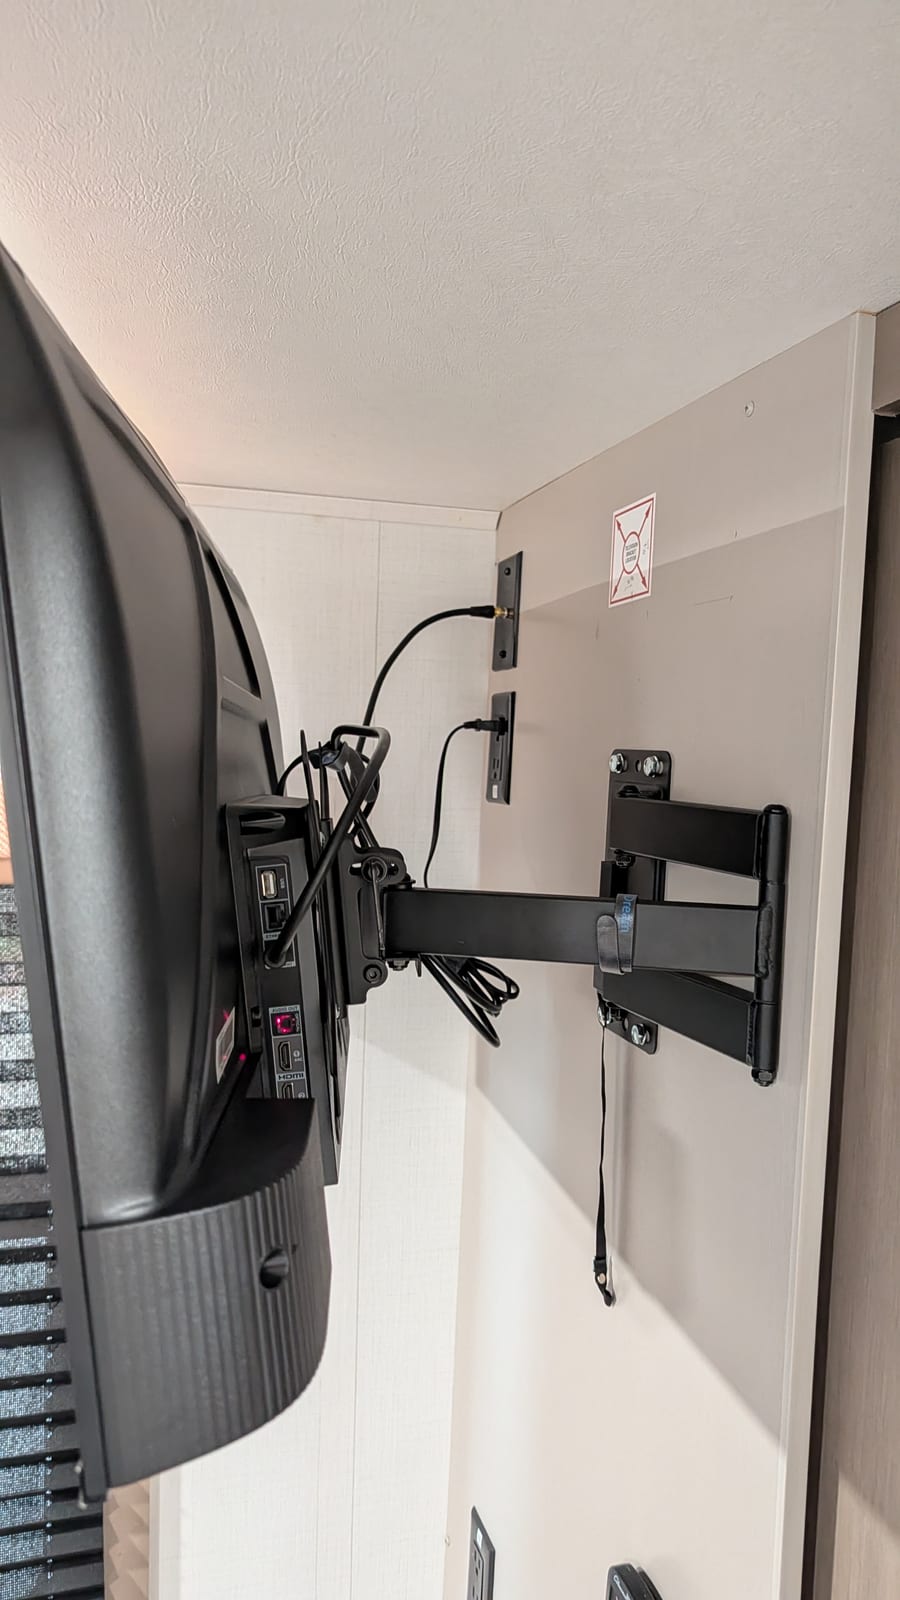
Step 4: Clean up
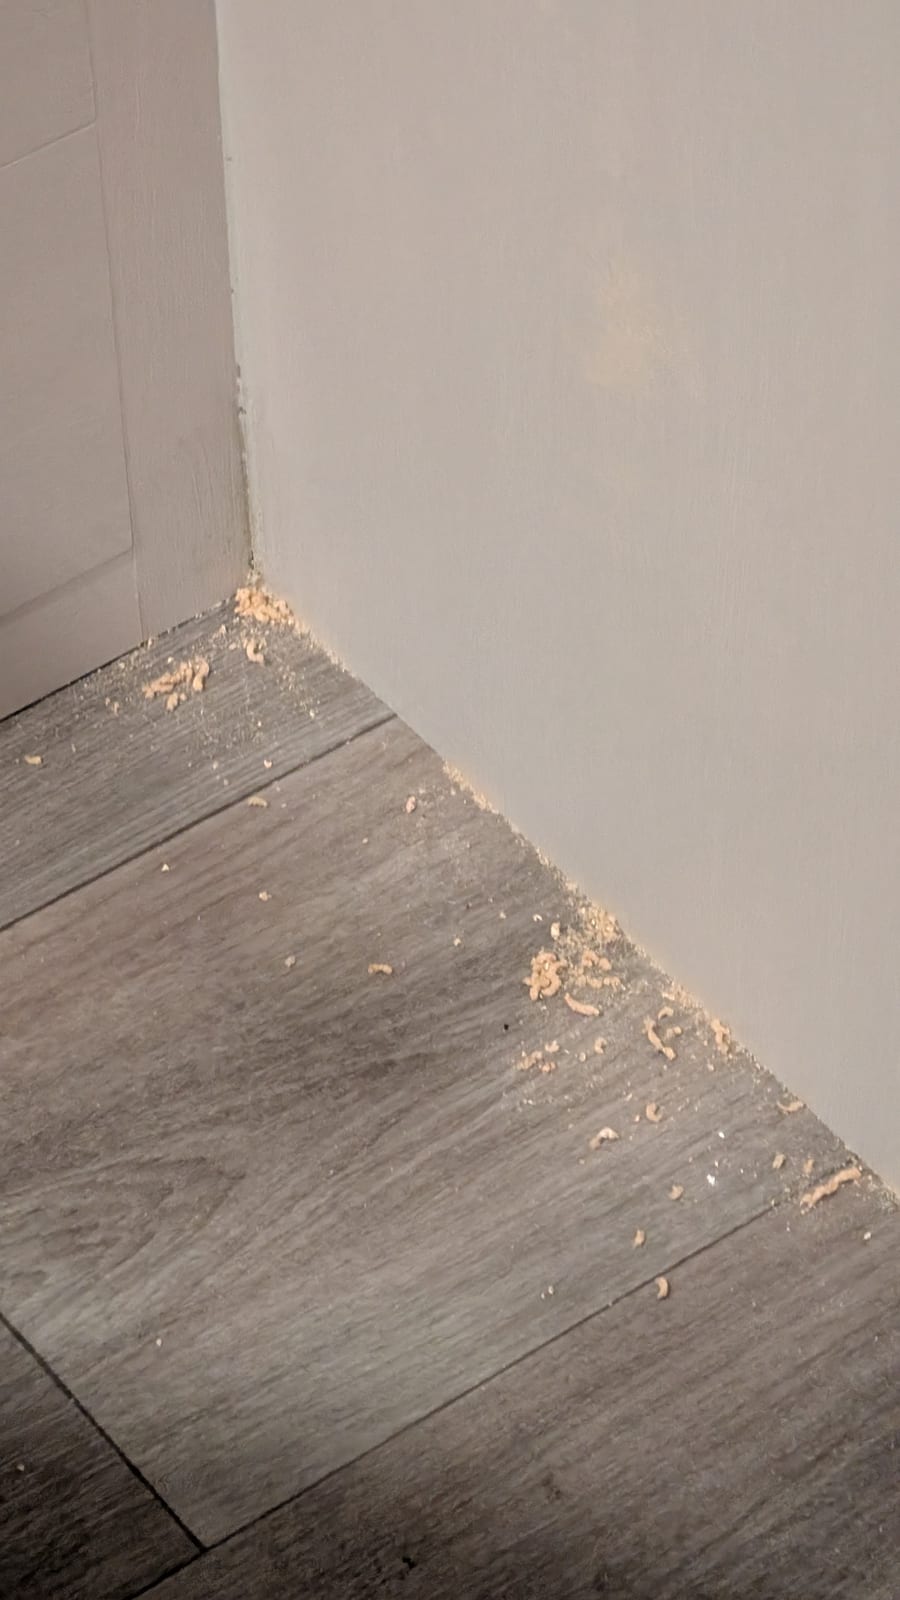
Every DIY project has a step nobody puts in the instructions. Here it is.
Step 5: Test it
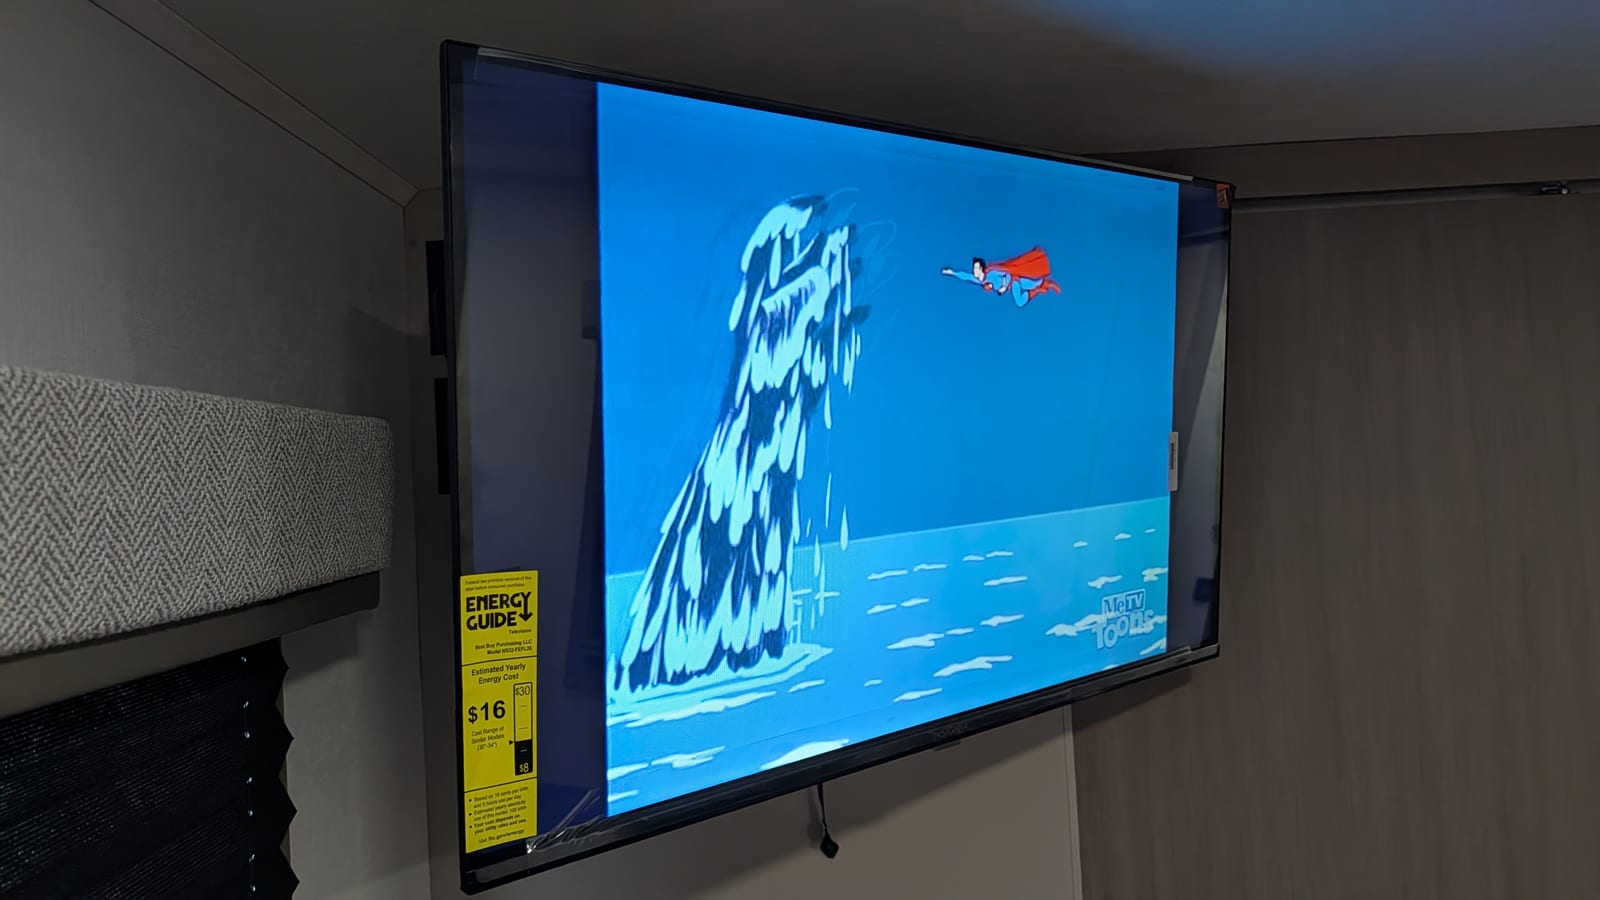
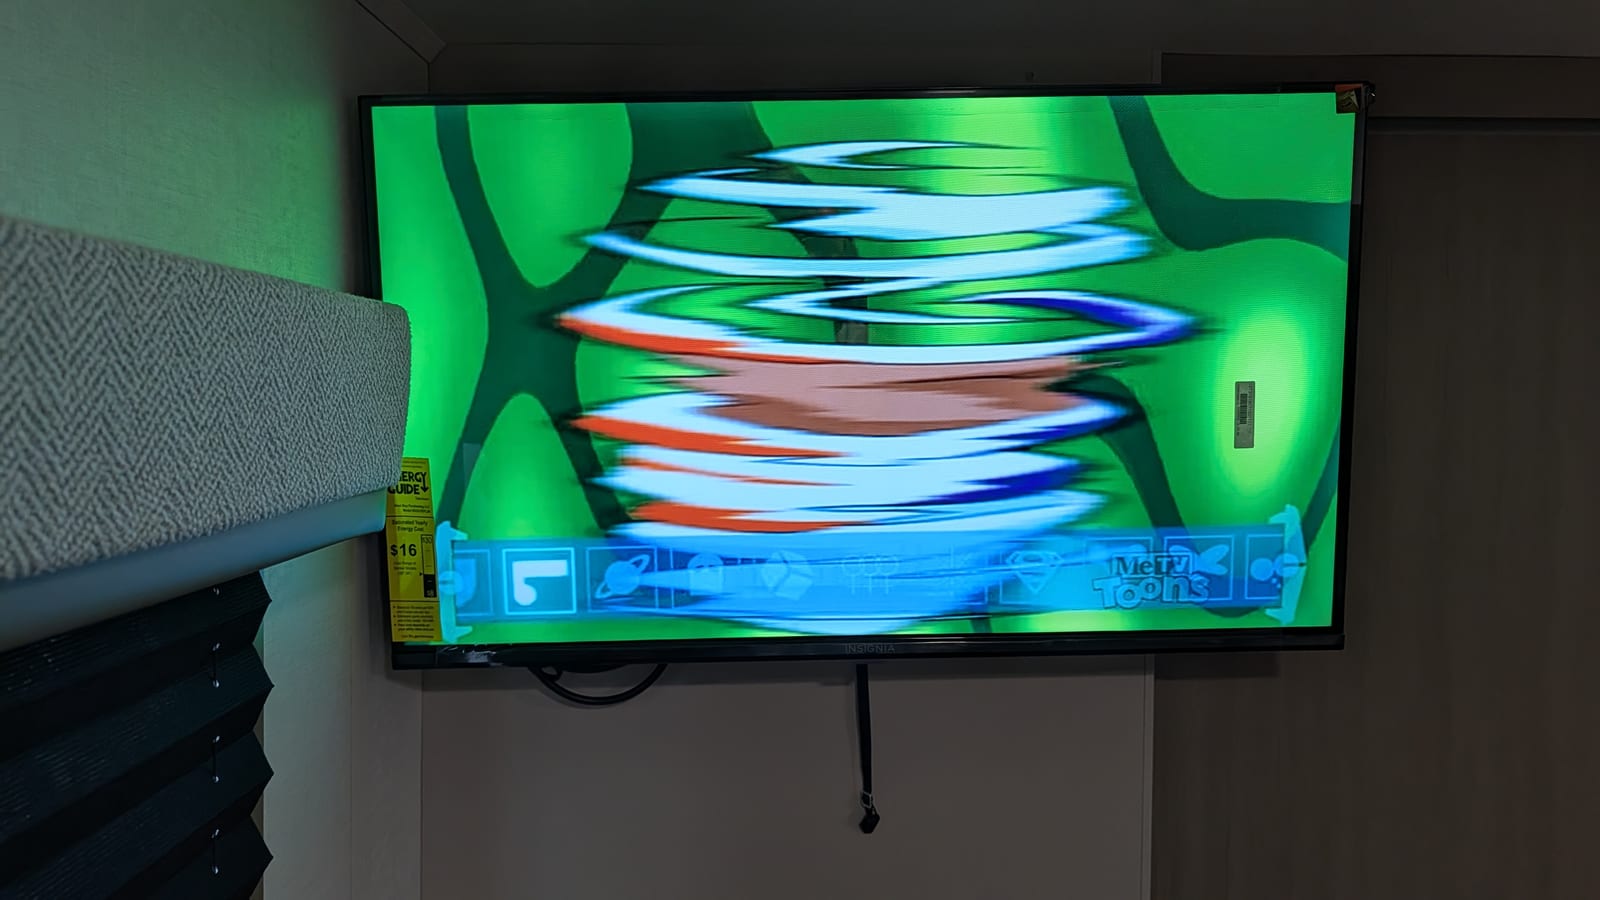
The most important step. I turned it on, and MeTV Toons came in over the RV’s antenna right away. Classic Superman cartoons are the right way to christen a new TV.
Final thoughts
This was an easy project, mostly because Entegra did the hard part. The backing, the coax, and the inverter outlet were already there. All I had to do was pick a TV and a mount. The lockable mount was the important choice. An RV is basically a small earthquake every time it moves. With the arm locked, the TV stays put while we drive. When we want to watch something, one pull on the strap lets it swing out.
Now we can fall asleep to old cartoons. As for the sawdust, I’m still finding it.